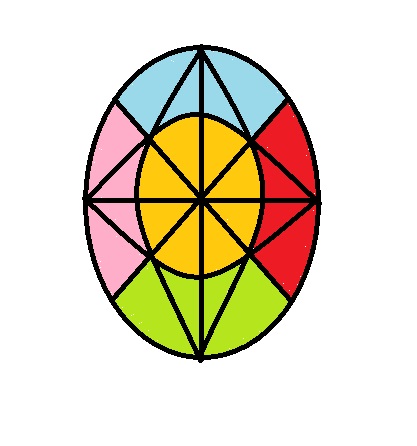
I was lucky enough to be invited back to the Bona Thompson in Irvington, a neighborhood in Indianapolis, to do two pysanky classes. I had about 16 students in both classes so we were very busy. My students did a wonderful job on their eggs.
Drawing Celtic Knots
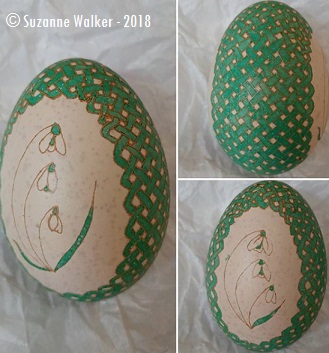
Spring seems to be the time to try eggs with Celtic Knots. I'm a bit Irish, so I'm excited to try my hand at these. Celtic knots look complex and beautiful on an egg, and they are actually a bit difficult to get right. I have to concentrate very carefully in order to make sure all my lines are correct. I used this site to help teach me how to draw the knots that I've used on these two eggs and that I'm using on the 2nd ostrich egg that I've ever done.
The First Braid
This is the first braided egg I ever tried.
Snowdrops
This egg was a brown egg before I etched it. I'll share more about etching in a later post.
Quiche
It might seem silly to have a recipe on a site dedicated to art, but hear me out. I often have people ask me what I do with all the egg that I empty out of my shells. The answer is, I eat them. Sometimes if I'm making just one or two eggs, I just whip them up into a quick omelet or even quicker scrambled eggs, and I'm all set, but, if I'm prepping for a class (like I am now) and need to empty 32 eggs, making an omelet no longer even scratches the surface of all the eggs that need to be consumed.
Enter the quiche.
Easy to make and delicious to eat, I love using the innards of my eggs to make quiche. Here's my basic recipe (I'm also a lazy cook, so make your own crust if you want to, but I certainly don't).
- 1 pie crust from the freezer section of your grocery store. I always use deep dish.
- 4 eggs emptied from shells (of course you save the shells for pysanky).
- 1 1/5 cups of dairy - I usually use 2% milk, but you can use cream, whole milk, skim...whatever
- 1 1/5 cups of cheese - any kind
- about 1 cup of something else
- salt and pepper (maybe 1/2 teaspoon each? maybe more?)
- other seasoning that you might like (I like mustard powder in lots of my quiches)
Preheat your oven to about 380. Mix up your eggs, milk, salt, pepper, and other seasonings. Prep your "something else" ingredients (more on that in a minute). Pour your egg/milk/seasoning mixture into your pie crust. Add the cheese to the pie crust by scattering it evenly into the egg/milk mixture. Add your something else. Be careful not to fill your pie crust too full. Bake for about 40 minutes - maybe longer, maybe shorter depending on your oven. Let sit about 10-15 minutes before cutting and enjoying. Pair with a nice salad and some white wine. Delicious.
The "something else" ingredient is what I love about quiche. That something else is usually vegetables and meat. Clean out your fridge while making a quiche. Have 1/2 an onion and a slightly old tomato? Chop them both, cook them up in a little butter and add them to your quiche. Here's some of my typical add ins:
- bacon
- cubed ham
- spinach from the freezer (lazy)
- tomatoes
- mushrooms
- onions
- broccoli
- really anything that sounds good to you!
The other awesome thing about quiche is that they freeze really well. So you can make a couple at once and deal with 8 of your eggs. And have brunch ready to go!
Sometimes I need something more bite-sized than a whole quiche. That's where the mini-quiche comes in. I'm still lazy so I just use muffin tins (any size) and filo dough for the crust. Follow the directions on the filo dough and use about 2-3 layers to line your cups (grease them first! That will really help!). Fill them about 1/2 way with your egg/milk/season mixture and them fill them almost to the top (but not all the way) with cheese and your "something else". Bake these for 30-45 minutes. Let them stand a good while before you pop them out. They keep great in the freezer and then you have a quick breakfast, lunch, or brunch.
So, don't waste the innards of those good eggs! Make a quiche!
Display in Irvington
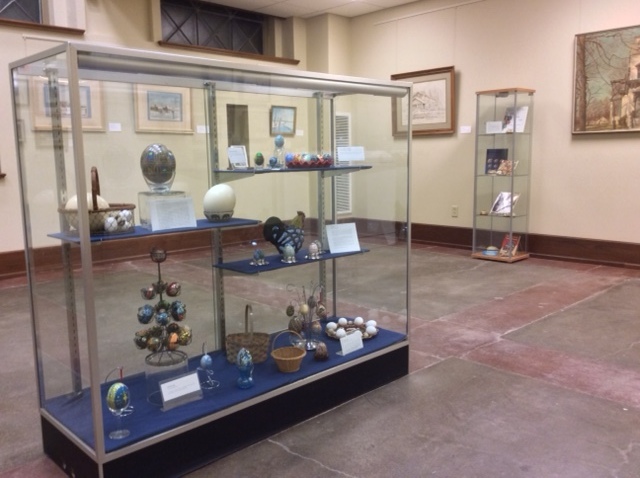
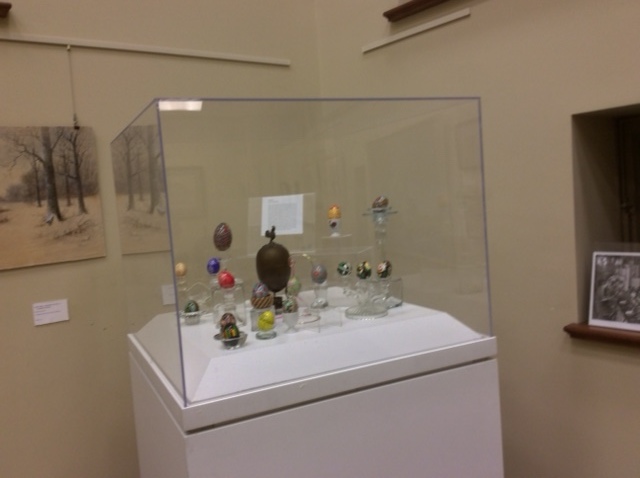
My eggs are currently on display at the Bona Thompson in Irvington on the east side of Indianapolis until April 29, 2018. I'm also doing two classes for them, open to the public ages 14 and up! It is always fun to get a display together.
How to write a "40 Triangle" design - Hint, it's 48 Triangles.
So, a dear friend and I were Skypeing recently and she mentioned that she's finding the "40 Triangles" division to be tricky. Well, part of the reason may be because, though it's referred to as 40 Triangles (probably because of the 40 days of Lent), mathematically, it actually works out to be 48 triangles. And if you follow these steps, it's not too hard to achieve a nicely divided egg.
You start with the Gateway division:
First egg / Top row: The Gateway division is the first and most basic way to divide an egg. You are basically drawing three lines around your egg; one that circles it horizontally, and two that circle it vertically and cross at 90 degree angles. This divides your egg into 8 sections. Find them on your egg and count them. Don't forget, our egg will have 2 sides. The pictures above only show one side.
Middle egg / Top row: The next step, as shown above, is to divide your egg into 16 sections by adding 2 crossed lines, evenly dividing your egg. You might think of this as 4 lines, if that helps, but remember, they will circle your egg, so technically, they are 2 continuous lines. Now you should have 16 sections. Count them.
Last egg / Top row: The third step is adding 2 more vertical lines (or 4, depending on how you think about it) vertically on your egg, evenly dividing your egg once again. You can do this by looking at the top and bottom of your egg and dividing it like a pizza. You should now have 32 sections. Count them.
First egg / Bottom row: Your last step is to add 4 horizontal-ish lines that cross the intersections made by your vertical lines and your diagonal lines. Now you should have 48 triangles.
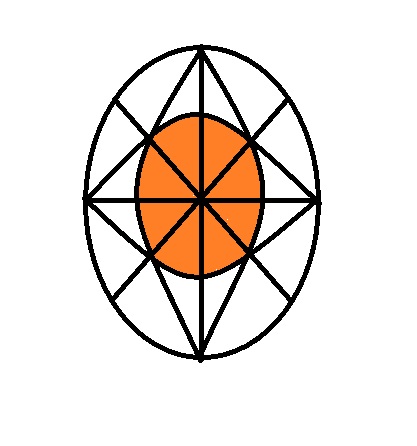
I like to think of the 40 Triangle division as 48 Triangles. It's easier for my math brain to make the division correctly if I'm looking for groups of 8. You can see the easiest group of 8 colored above in the 2nd row middle egg. That group is orange.
You can see the other groups of 8 in the last egg. Remember, the missing 4 triangles for most of the groups are on the backside of the egg.
Good luck! This is a great division. You can read more about it here at pysanky.info, which is an amazing site.
Pysanky Class!
I had a class with five adult students recently and they did great! In two hours I was able to touch on the history of pysanky, how to empty an egg, and the basics of an 8 pointed star design. It was a great group and once they had the basics down, I let them go wild with the colors.
This is a great thing to do with friends or even at a party. Feel free to contact me using the contact page if you'd like a class for you and your friends!
Egg Display - Indiana State Library
I put together a display of my eggs for the Indiana State Library for the months of March, April, and May. It was quite fun for me and I went ahead and created a series of eggs showing the progression from a white egg all the way to a fully decorated egg with every step in between.
There were about 100 eggs in this display which is available for your library or display case. Schedule way ahead if you'd like it for the spring time!
Adams County Public Library - Indiana
Earlier this year I received a request from the Adams County Public Library, here in Indiana, for an egg. They are lucky enough to have papers related to Katherine Milhous in their library's collections and they even have an egg she made! Why is this egg-citing? Well, because Katherine Milhous wrote the book, The Egg Tree, which you can read all about on my page dedicated to pysanky and children's books.
I was delighted to oblige and sent them this egg, based on the Milhous book.
I think they were excited to receive it and they sent me these lovely pictures to show my egg in its new home, right next to the Milhous egg.
The Egg Tree by Katherine Milhous, my egg, and her egg!
A staff member at the Adams County Public Library unpacking my egg.
Eventually, I need to get over there to visit it!
How to make your own Pysanka
Are you interested in making your own pysanka egg? Check out this video I made with my nephew that tells you step by step how to get started.
